
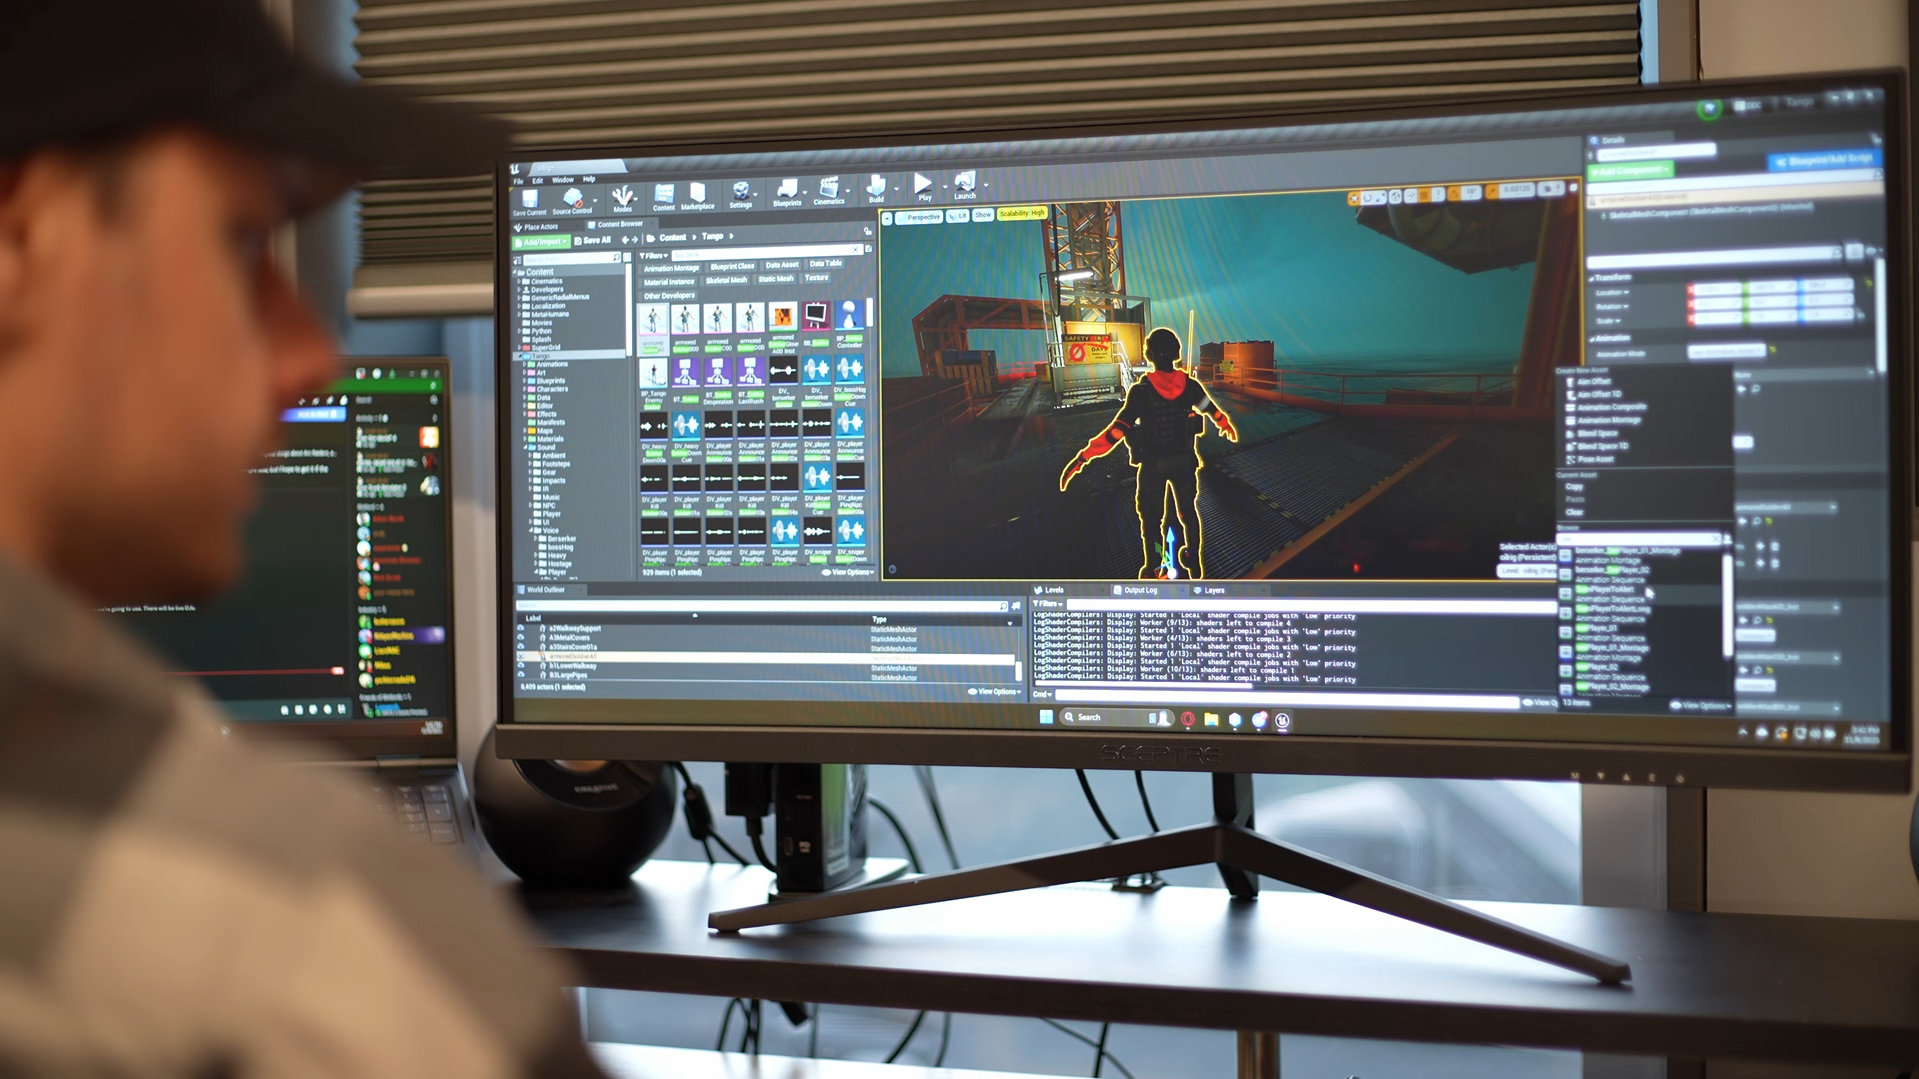
Managers Overview
A series of Manager Actors handle the logical infrastructure for a Rogue Point mission. These are broken down into 2 main categories:
Global Managers
Named as such because they control certain level logic for the entire level. There is a core set of 8 of these, and every RP level must have all of these Managers present (and only 1 of each), or it will not work. The Global Manager classes are (in rough order of importance):
- ▪Randomization Manager
- ▪Objective Manager
- ▪Planning Phase Manager
- ▪Merc Manager
- ▪Level Streaming Manager
- ▪Spectator Camera Manager
- ▪Player Manager
- ▪Cover Manager
Local Managers
Named as such because they control Actors with a certain local scope. Actors get “registered” to these Managers and are then controlled by said Manager. There are 4 classes of Local Manager:
- ▪Area Managers
- ▪Squad Managers
- ▪Stash Room Managers
- ▪Takedown Managers
Area Managers
The Area Manager is the core of the Randomization System and is implemented by placing lots of BP_AreaManager in a level.
Area Managers logically define a localized set of Actors, which get grouped under their Area. This means when setting up a map for the first time, you only need to set up an Area and its corresponding Actors once. Then, when building different Level Layouts, you only need to manage how these Areas are used by the Levels, rather than having to worry about low-level implementation details.
You create an Area by placing a BP_AreaManager and giving it a proper tag (see below). Then you place all the associated Actors you want for this area and tag them up. Examples include:
- ▪Spawn Points
- ▪Extraction Zones
- ▪Objective Spawners
- ▪Doors
You only need to configure an Area for the things you’d want to use it for. If you’ll never use certain areas in a map to spawn players, then do not give them Spawn Points!
Managed Actors / Components
Area Managers talk to and understand the TangoManagedComponent, which any Actor class can hold. There is also a helper class, TangoManagedActor, which wraps a TangoManagedComponent with some useful helper variables and functions.
In general, it is easier to derive new actors from TangoManagedActorsince you don’t have to implement the overall Manager functionality yourself. But if you need to use a different Actor class for some reason, you can add the TangoManagedComponent and work with that.
Gameplay Tags
All Managers in the game use Gameplay Tagsas their identifier. You set the Manager’s GameplayTag variable, and then it will listen for any TangoManagedComponent with the same tag. It then uses some customizable code rules to register those Actors with itself, so it knows what to do with them under different circumstances.
The automatic registration of these Actors is handled on both ends. When you set a Manager’s Gameplay Tag, it will automatically search the level for Actors with its tag. When you set a Managed Actor’s gameplay tag, it will automatically try to find a corresponding Manager.
The convention we use with these Gameplay Tags is that they are descriptive of the area you are defining within the level. Because the tags are hierarchical, you are free to define their hierarchy in any way that you see fit, and that suits how you are building the level. The system doesn’t care about the actual hierarchy or the names of the tags, it is just an identifier.
Manager Groups
For convenience, the TangoManagedComponent (and also the TangoManagedActor) supports a layer of filtering called the ManagerGroups. This is simply a TSet of FNames stored on the component.
Some means of randomizing a Manager from the Level Layout lets you specify this level of filtering, so you don’t utilize every single Actor in an area. This is useful in a few key ways:
- ▪When blocking off an Area, for example, there may be cases where you only want to block off half an Area rather than the whole thing. On Rogue Point, our convention is to give blocking Actors a Manager Group called
ToXXX, where XXX corresponds with the area. - ▪Rather than blocking the entire area, this means that (for example) the
BP_DarkRed-AreaManagerwill only block Actors that are part of the groupToLeft.
Randomizing an Area
When the Level Layout selects an Area to do something, we say it was chosen for that “Pass Type”. Areas can be randomized for any number of Pass Types, and these are defined by the enum EAreaPassType, which includes:
- ▪Spawn
- ▪Objectives
- ▪Blockers
- ▪Squad
- ▪Extraction
When chosen for ANY pass type (except Blockers, which is a special case, as that means we don’t want the area to be used), the Area Manager will also attempt to randomize any of its subcomponents that are correctly configured. By default, those subcomponents are:
- ▪Stations: Medical Cabinets, Ammo Caches, etc. These will be randomized according to the rules defined in the
AreaStationComponent. - ▪Doors: All Doors within the Area are randomized according to the rules defined within the
AreaDoorComponent. You have to be careful with these! If you are too liberal with how many doors you chock in an area, you can soft-lock players who did not bring gear for breaching doors. - ▪Cover: The
AreaCoverComponentwill spawn a randomized number ofBP_CoverSpawnersthat an area holds.
If these subcomponents have no Actors registered with them, or do not have proper chances set up for randomization, they will do nothing.
Keeping Things Organized
To help keep the World Outliner organized, there is an incredibly helpful Scripted Action called AutoMoveAndRename(). Use this function by right-clicking on any Manager class, going to Scripted Actions, and then finding AutoMoveAndRename() on that menu.
This function automatically renames your Area Manager using its Gameplay Tag. It then grabs all Managed Actors belonging to the Area Manager, and renames them using that same convention. It then moves them all into the World Outliner subfolder that the Area Manager is currently in.
This makes it a ton easier to set up an Area. Place all the Area’s Actors you want in a single pass, and give them the correct tag. Then move the Area Manager into the appropriate folder, and then run this editor function once. And you’re done!
Squad Managers
Area Triggers
A Squad Manager expects its parent Area Manager to be configured with an associated BP_AreaTrigger. The Area Trigger serves two important purposes:
- ▪It serves as a rough boundary for its MERX to use. If a Merc is spawned associated with an Area/Squad, they will prefer not to navigate outside of this Area Trigger. It is not a hard limit, but they will generally attempt not to leave the Area Trigger.
- ▪It unlocks its Area’s Spectator Cameras when players walk into it.
The Area Trigger is a simple box trigger and cannot be modified with more complex geometry. This is because it is queried frequently by the AI, so we wanted to keep this check performant. You will just have to make do with the inaccuracy!
Squad Roles
A Squad Role is a preset for the composition of a Squad. The Level Designer can define these if desired, and these are used to spawn Squads in a configurable and reusable way. When a Level Layout asks a Squad to spawn, it either provides or chooses a random Squad Role for that Squad, and that is used to determine how many Merx spawn and which classes they are.
Some of Rogue Point’s default Squad Roles include:
- ▪Standard: Standard Squad composition. Usually, it will have a few Soldiers and a Lookout. On higher difficulties, specials start to creep in.
- ▪Patrol: Smaller Squad intended for side areas. Usually, only a few Soldiers and a Lookout.
- ▪Brawler: Close-range Squad. Holds down the fort!
- ▪Sniper: Long-range Squad. Sight line defense.
- ▪Blockade: Strong Squad composition, typically with at least one or two Heavies mixed in with Soldiers. Designed for holding down a powerful position.
You can customize these per level through BP_MercManager by editing variables contained within its SquadRoleComponent. You can change how many Merx of each class spawn — for example, we reduced the numbers on Office, as that map is quite small. You can create your own by adding them to the LevelSquadRolesvariable. In general, you probably don’t need to do this. The standard roles are usually enough, but the option is there if you want it!
By default, when a Squad is chosen, it will automatically pick a random Squad Role specified within its SquadRoles variable. You can get more granular with this and assign specific Squad Roles for a specific Level Layout if you want, using the LayoutSquadRoles variable. For example: if a Squad Manager is selected while playing BP_StandardLevelLayout3, rather than using the “Standard” Squad Role like it will on every other layout, it could choose between “Sniper” and “None”.
Second Wave
A standard mission has the concept of a “Second Wave”. This is a wave of enemies that spawns near the end of a mission, to help counteract the fact that you’ve probably thinned out most, if not all, of the enemies by this point in the game.
This wave is called when the final remaining objective of a mission has its state switched to “In Progress” (such as when starting the Laptop decryption mini-game or a bomb defusal) or “Completed”. The squad associated with that specific objective will then call for a Second Wave.
However, by default, this would mean that the Second Wave squad would spawn directly on top of the player doing the objective, which we usually wouldn’t want. To counteract this, Squad Managers have a variable called SecondWaveSpawnerSquads. You can add other Squad Managers to this variable.
When spawning a Second Wave squad, the Squad Manager in question will assimilate the spawners from those specified SecondWaveSpawnerSquads. It will prefer spawners that are further away and do not have LOS to players. In this way, you can sort of control where the Second Wave comes from for a given area, to make sure it is fair on players.
Squad Triggers
Squads can be optionally configured to wake up with BP_SquadTrigger. Set up these triggers in your level, and point them at any relevant Squad Managers.
If a Squad Trigger points to a Squad Manager, it will not automatically spawn its squad, even if it gets set up by the Level Layout. Instead, it pre-configures the Squad through the randomization system and then waits for a signal from any of its Squad Triggers. When a Squad Trigger is hit, it attempts to wake up any of its specified squads. If that squad has been pre-configured, it will then spawn.
This helps with performance. You can keep certain AI frozen until they are needed, and only wake them up on demand. We use this on more demanding maps, but generally don’t use it if we can avoid it.
Random Roll
The Random Roll is a core struct used throughout the Randomization System. It is extremely simple, but extremely powerful. It has several members:
- ▪Roll Type: Determines the logic to be used for the roll:
- ▪Roll None: Explicitly picks nothing, only really used where you want to remind yourself you explicitly wanted nothing to be chosen here.
- ▪Roll Single: Picks a random item from the associated list.
- ▪Roll: Picks a random number between Min and Max.
- ▪Roll All: Picks all items from the associated list.
- ▪Chance: Chance from 0.0 to 1.0 that anything happens. If the roll fails, nothing is chosen.
- ▪Min: The minimum number of things to pick.
- ▪Max: The maximum number of things to pick.
Random Groups
The system also has the concept of Random Groups. A Random Group has a double roll: a roll for groups, and a roll within each chosen group. This lets you get quite granular with the distribution of randomness across a level.
For example, imagine your level is divided into a left and a right section, with each section having 10 objective spawn locations within, and you want to spawn 2–4 objectives. You could create 2 random groups, 1 for the left, and 1 for the right. The group chance could be set to always pick both groups. Within each group, you can define that they spawn 1–2 objectives each.
In this way, you get randomized objective spawns, but always ensure that the left and right sides of the level are used in some capacity no matter what, despite potential random variance. We use this a lot in stock RP levels to prevent scenarios where you might randomly be given spawns that are very close together, and thus don’t use a map to its full potential. You can also use these to ensure different patterns across a level, which is quite fun.